SyncRivo for Zoom — Setup Guide
Connect Zoom Team Chat with other messaging platforms (Slack, Google Chat, Webex) by relaying messages between the channels you connect in the SyncRivo portal.
Prerequisites
- A Zoom account with access to the Zoom App Marketplace.
- Permission to add apps (your org may require admin approval).
- A SyncRivo account at syncrivo.ai.
1Adding the App
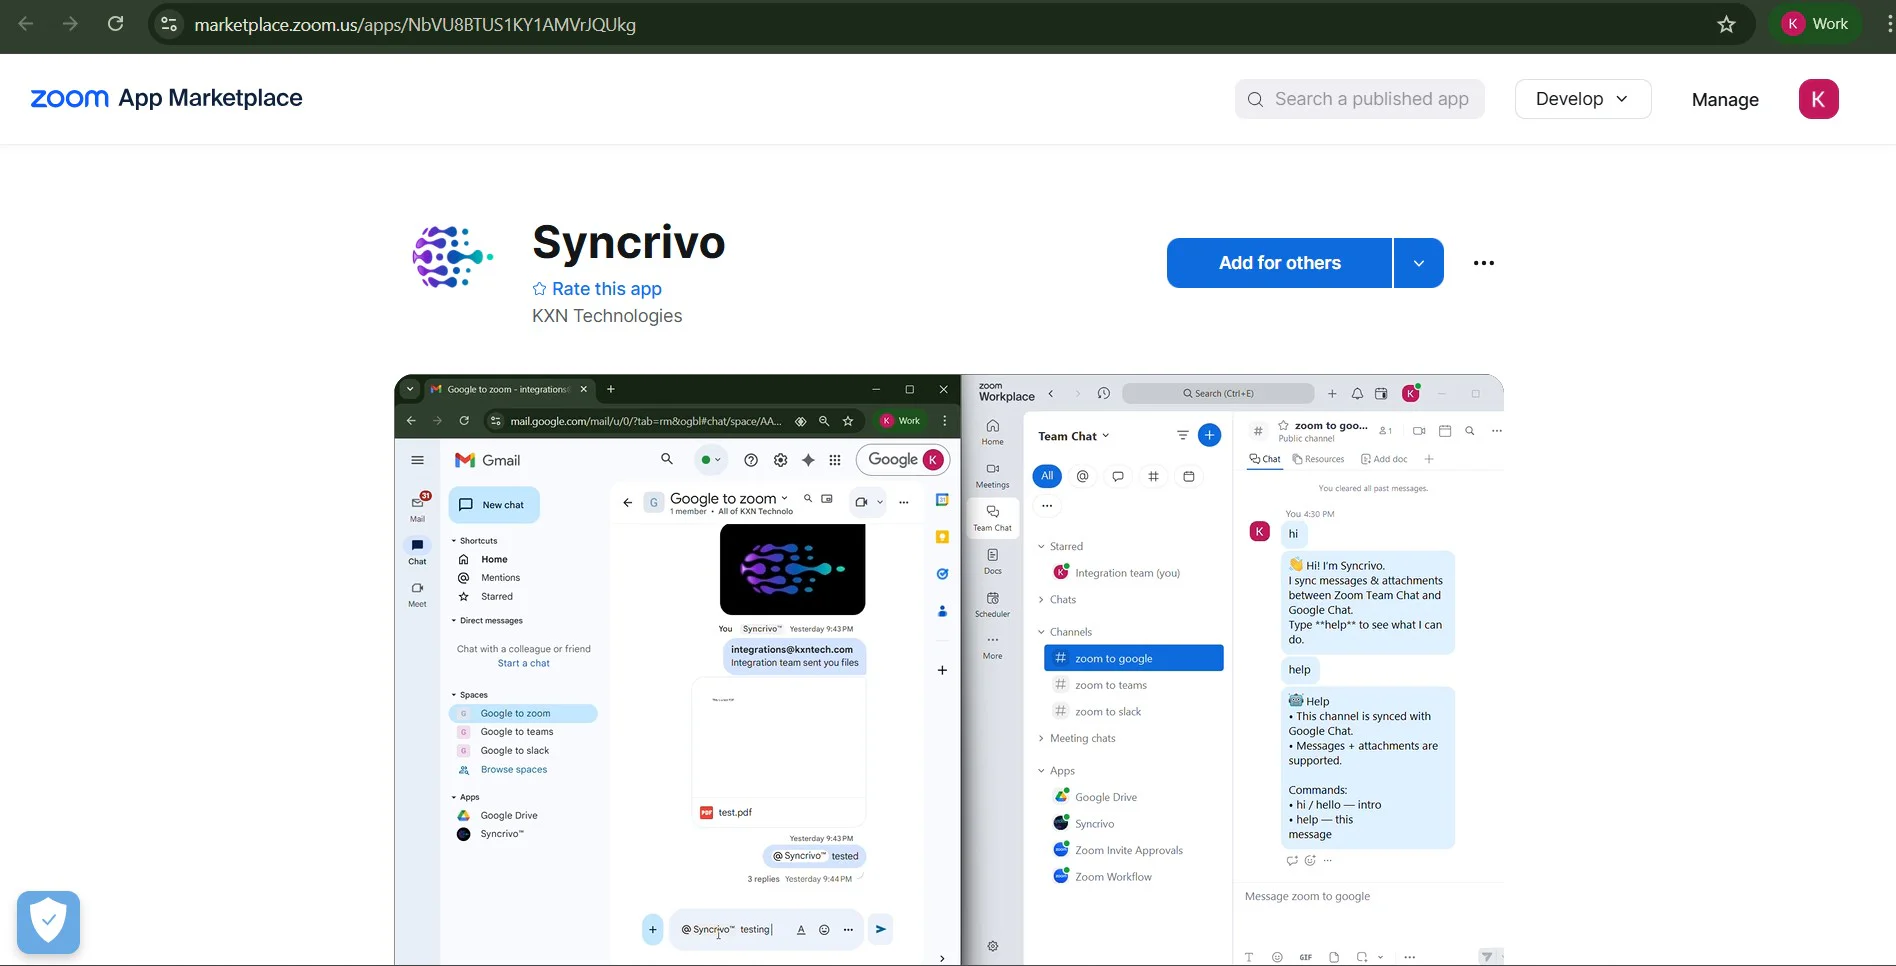
Option A — Zoom App Marketplace (Web)
- 1Sign in to the Zoom App Marketplace.
- 2Search for "SyncRivo".
- 3Open the SyncRivo listing and click Add / Install.
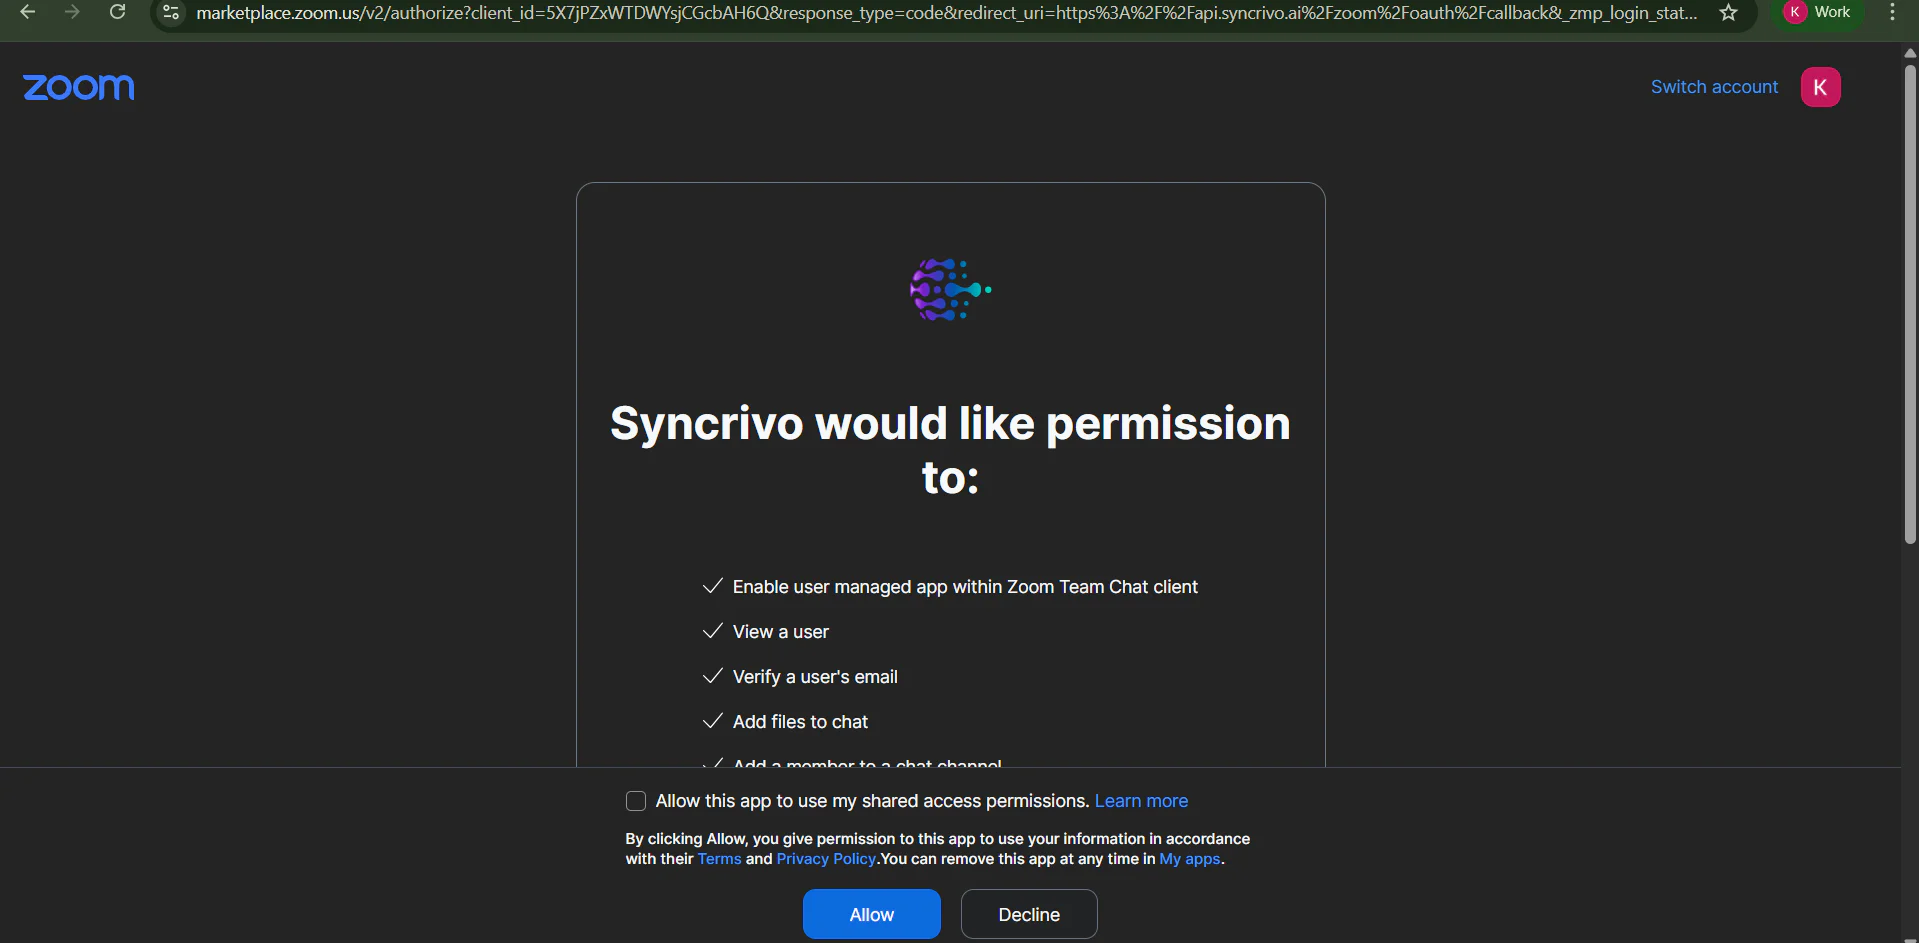
- 4Review the requested permissions and click Allow to authorize.
Permissions Requested
- Enable user-managed app within Zoom Team Chat client
- View a user
- Verify a user's email
- Add files to chat
- Add a member to a chat channel
- Allow this app to use your shared access permissions
Option B — Zoom Desktop Client
- 1Open the Zoom desktop client.
- 2Go to the Apps tab.
- 3Click Add Apps, search "SyncRivo", then click Add and Allow.
2Add SyncRivo to a Zoom Team Chat Channel
Once the app is installed, add SyncRivo to the specific channel you want to bridge.
- 1Open Zoom Team Chat.
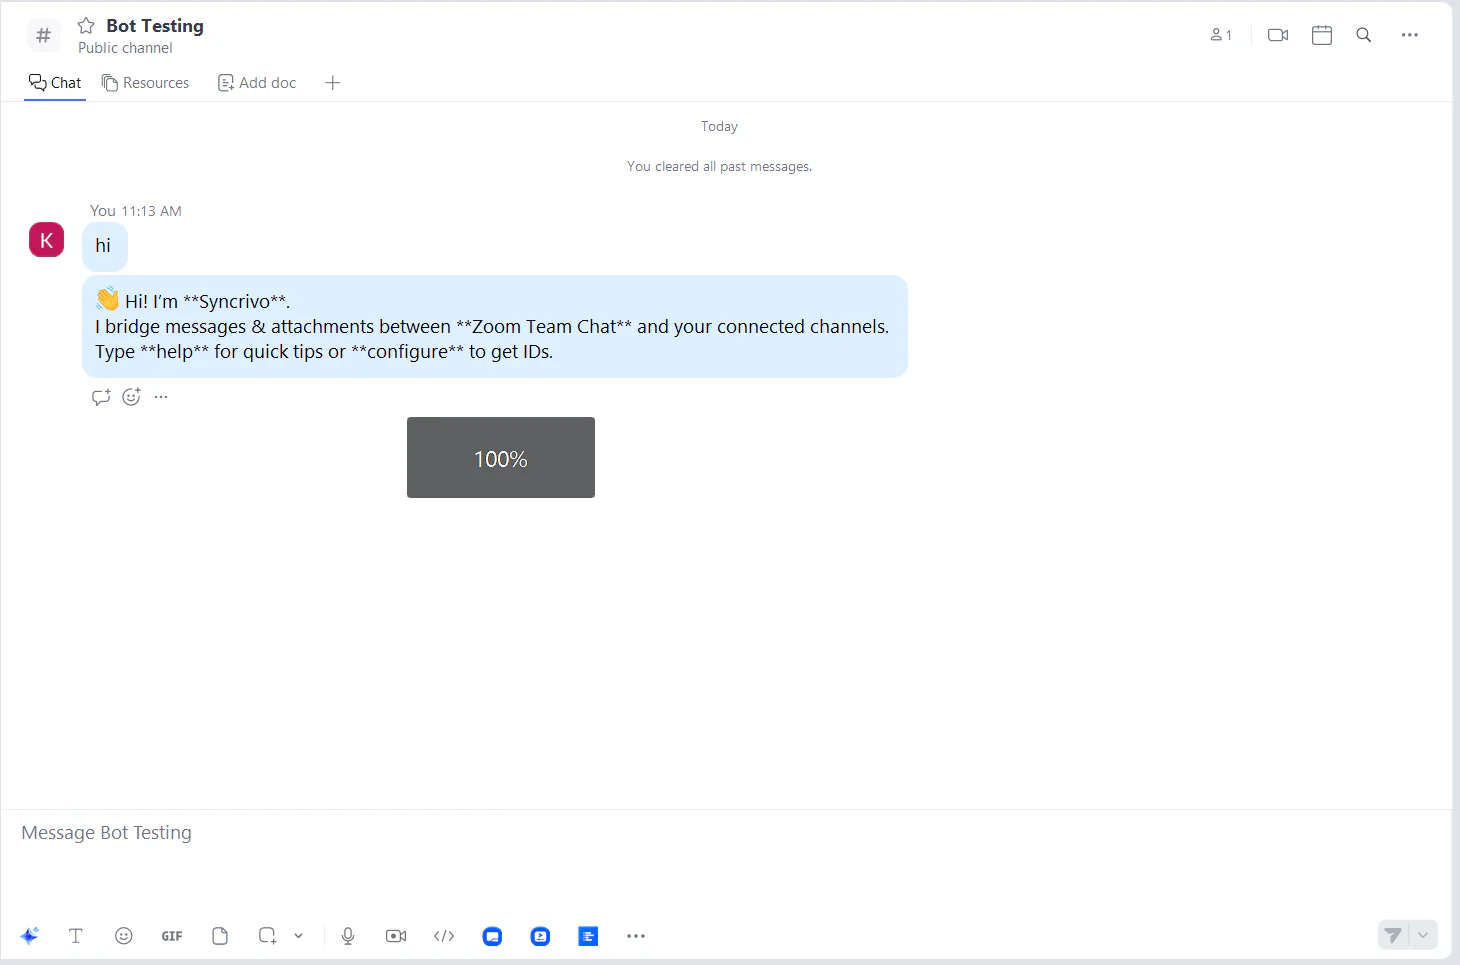
- 2Add or open the SyncRivo bot/app in the chat channel you want to connect.
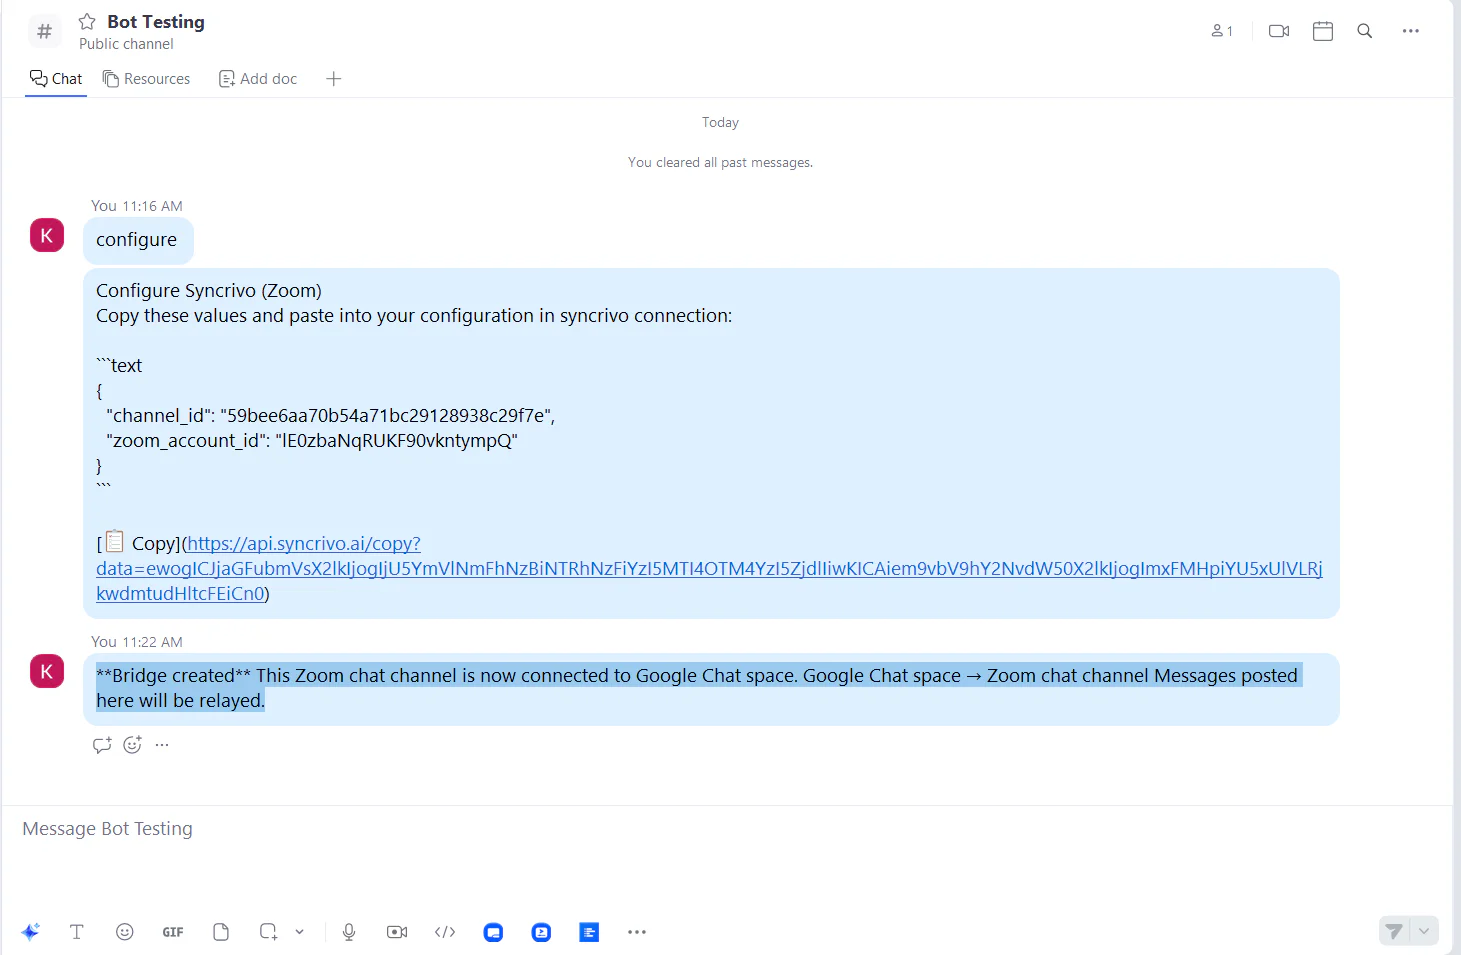
- 3Send "hi" — the bot responds with a welcome message.
- 4Send "configure" — the bot returns your Zoom configuration values (IDs).
- 5Copy the returned IDs. You'll paste them into the SyncRivo portal.
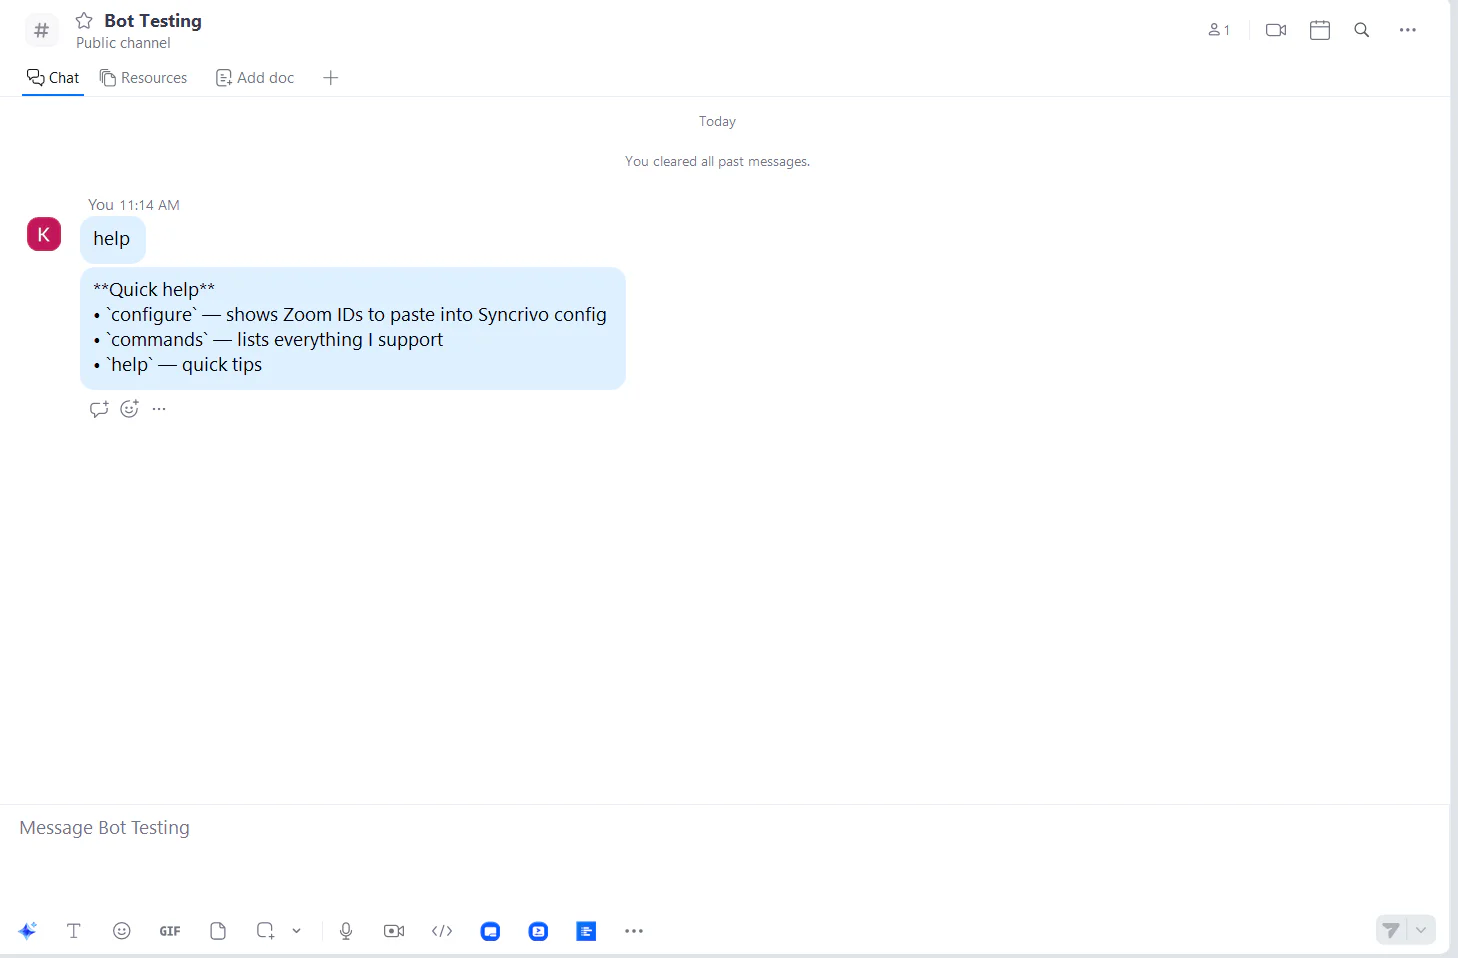
Bot Commands
hi / helloBot introduction
helpQuick tips & command list
configureGet Zoom IDs for bridging
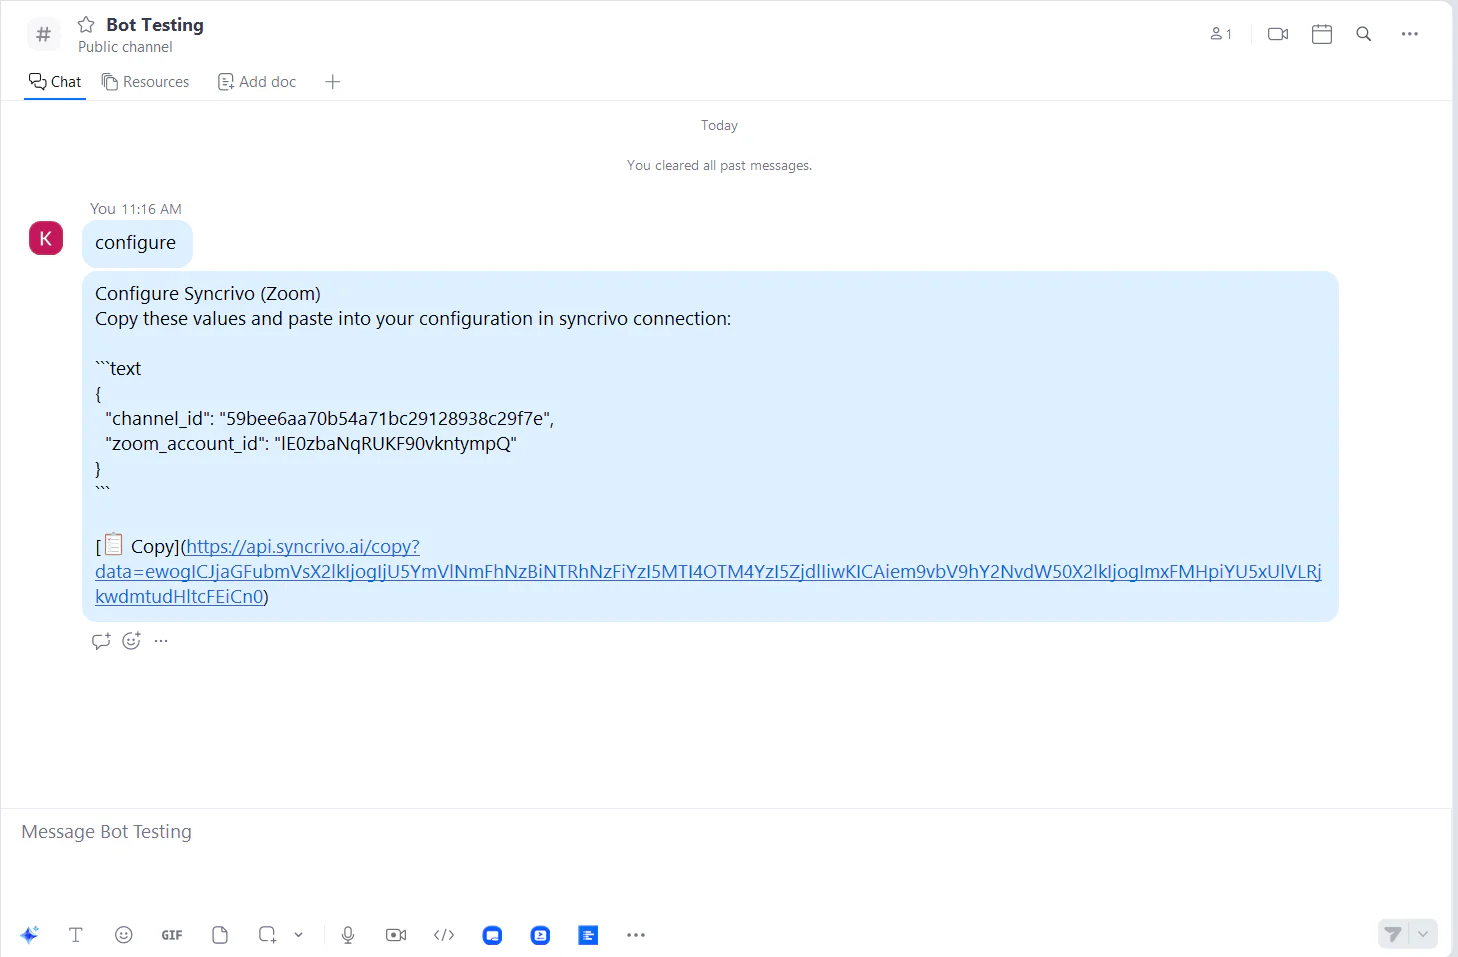
Example Configuration Output
{
  "channel_id": "59bee6aa70b54a71bc29128938c29f7e",
  "zoom_account_id": "IE0zbaNqRUKF90vkntympQ"
}3Usage — Connecting Zoom to Another Platform
What SyncRivo Does
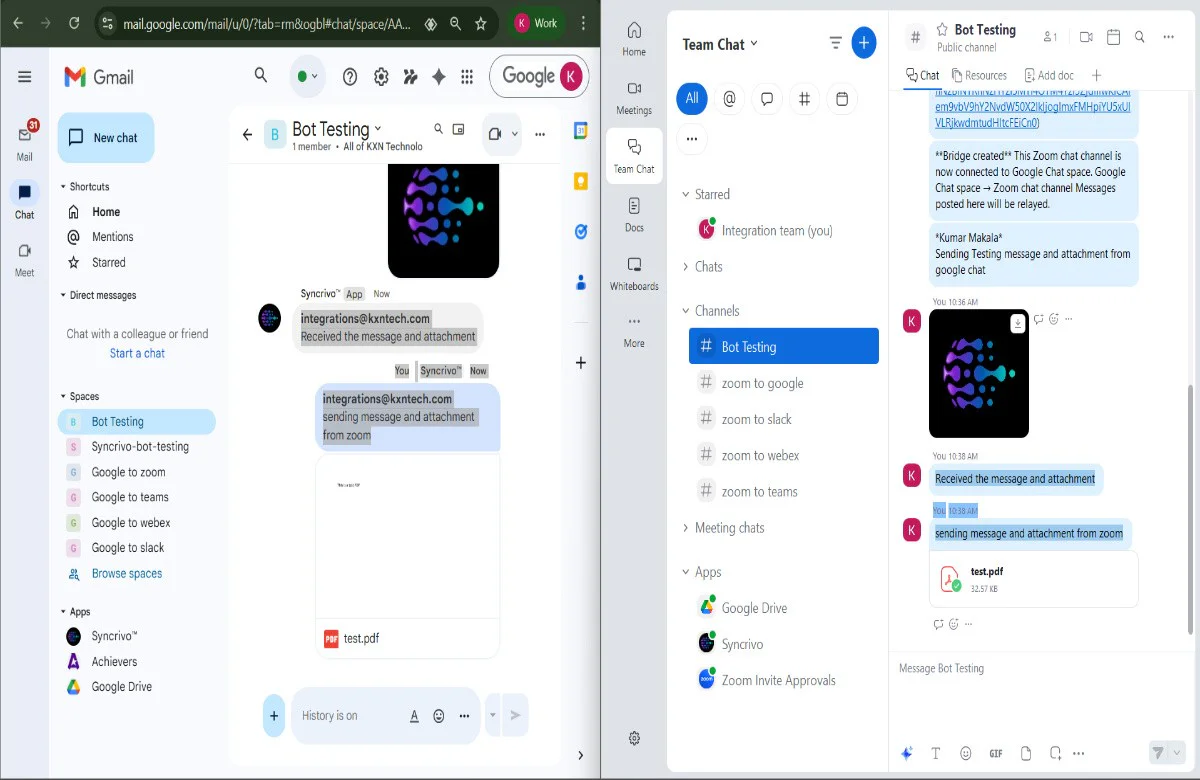
- Bidirectional message relay (Zoom ↔ destination)
- Attachment relay (where supported by the destination provider)
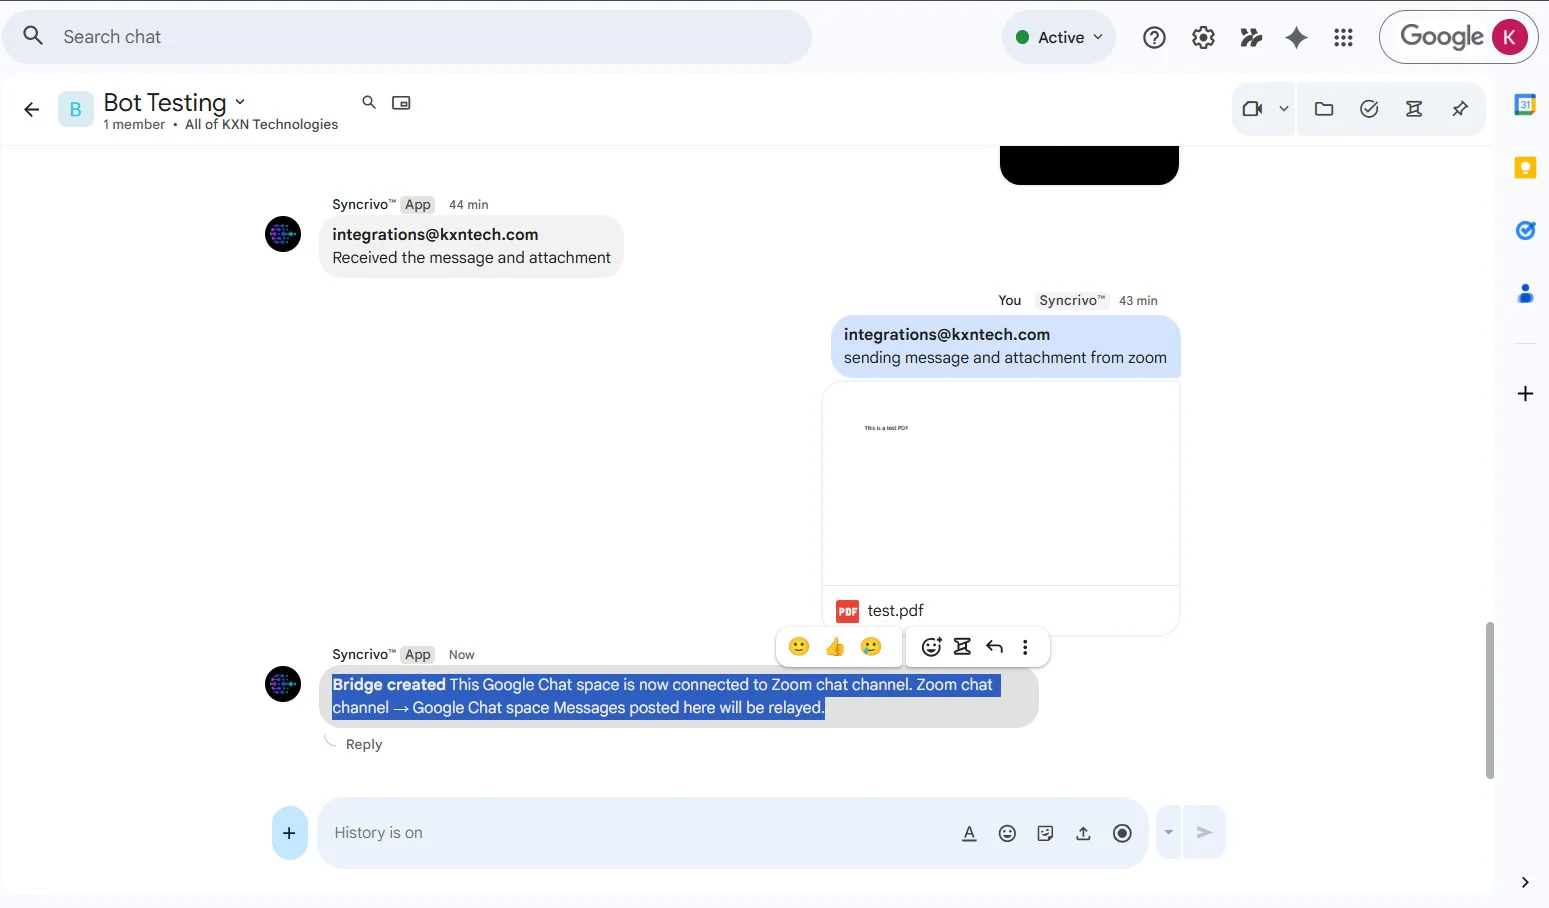
- Welcome / confirmation messages when a connection becomes active
Step-by-Step: Create a Connection
- 1In Zoom Team Chat, type "configure" to get Zoom IDs (from step 2).
- 2Log in to SyncRivo at syncrivo.ai.
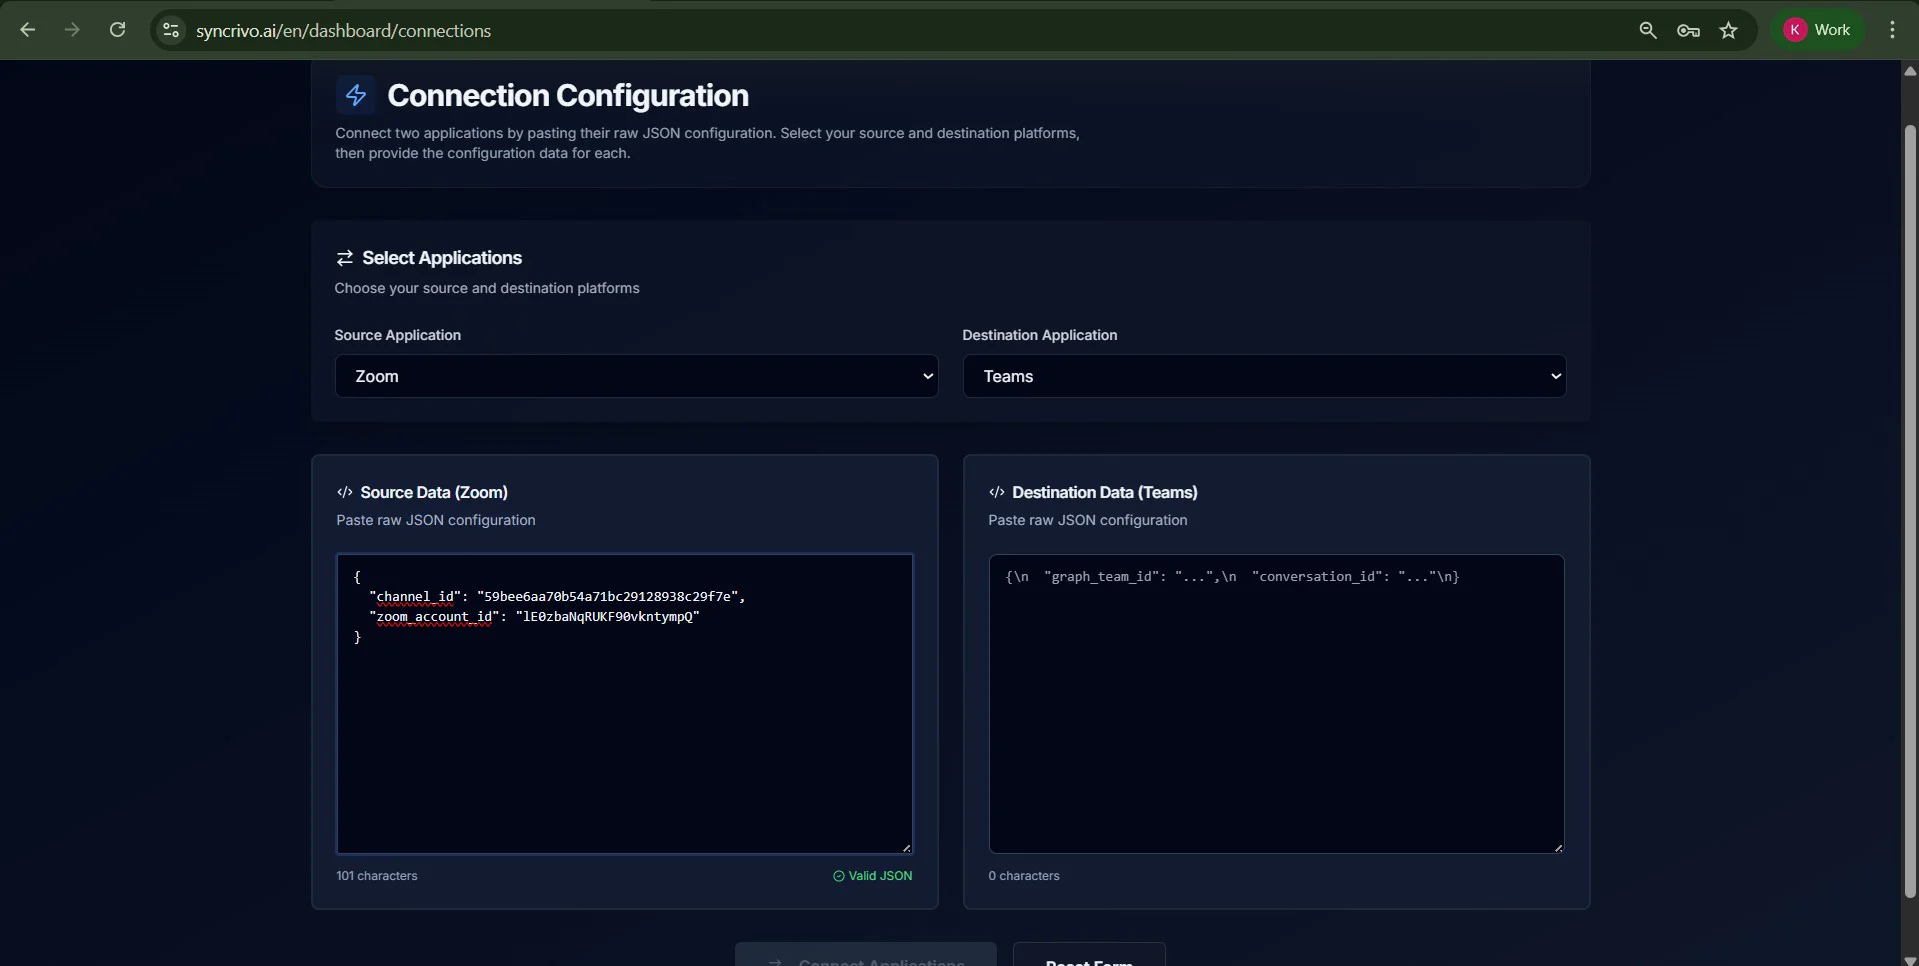
- 3Go to Dashboard → Connections → Create Connection.
- 4Set Source Provider = Zoom, then paste the Zoom IDs.
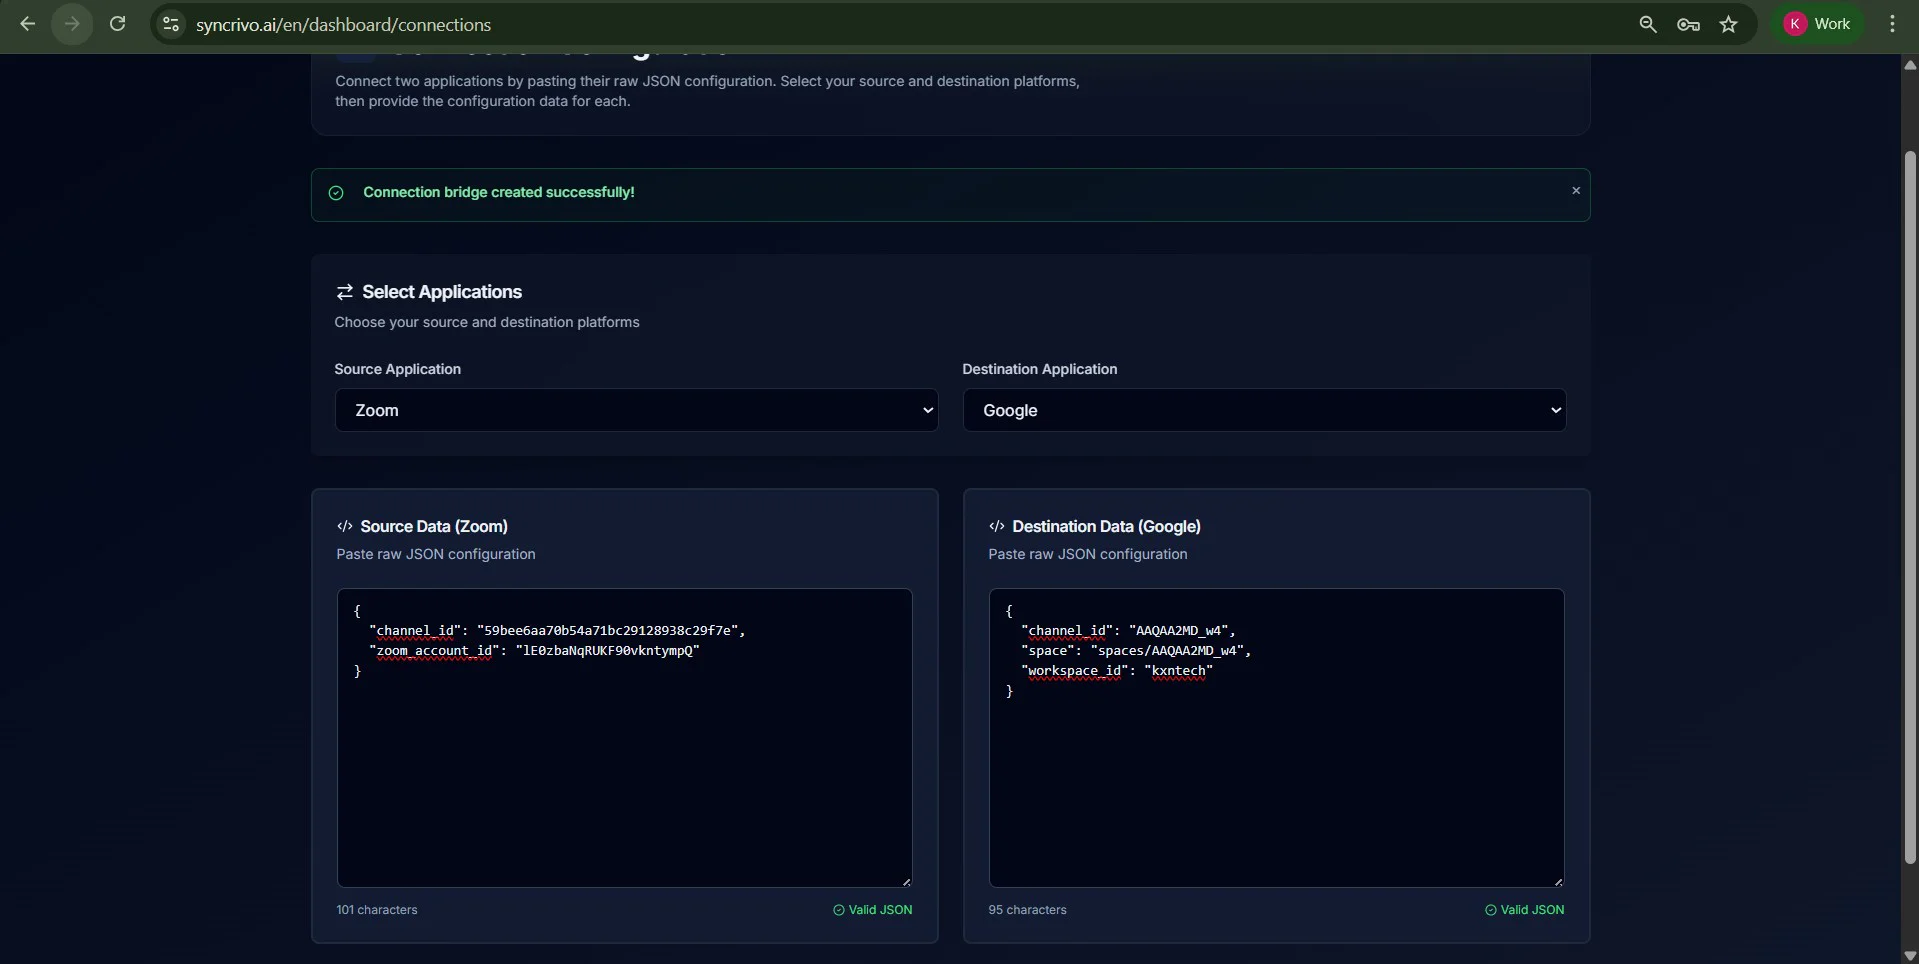
- 5Choose your Destination Provider (Slack / Google Chat / Webex).
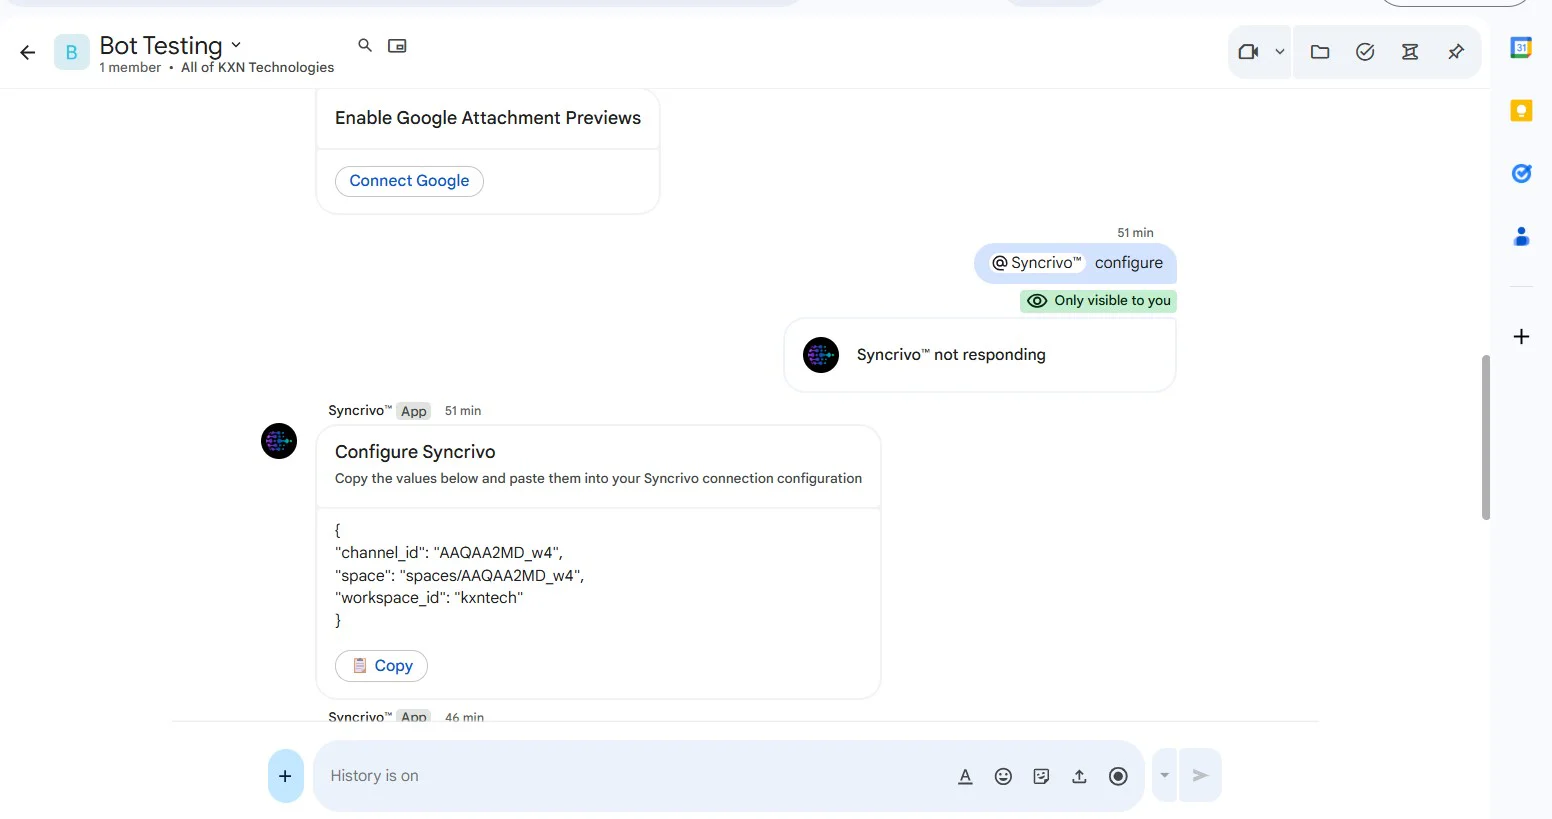
- 6In the destination app/channel/space, type "configure" to get destination IDs.
- 7Paste the destination IDs into the SyncRivo connection form.
- 8Click Connect Application.

Verify the Bridge
- 1Send a test message in Zoom — it should appear in the destination.
- 2Send a test message in the destination — it should appear in Zoom.
- 3Test an attachment (if supported by that provider).
4Setting Up Other Platforms
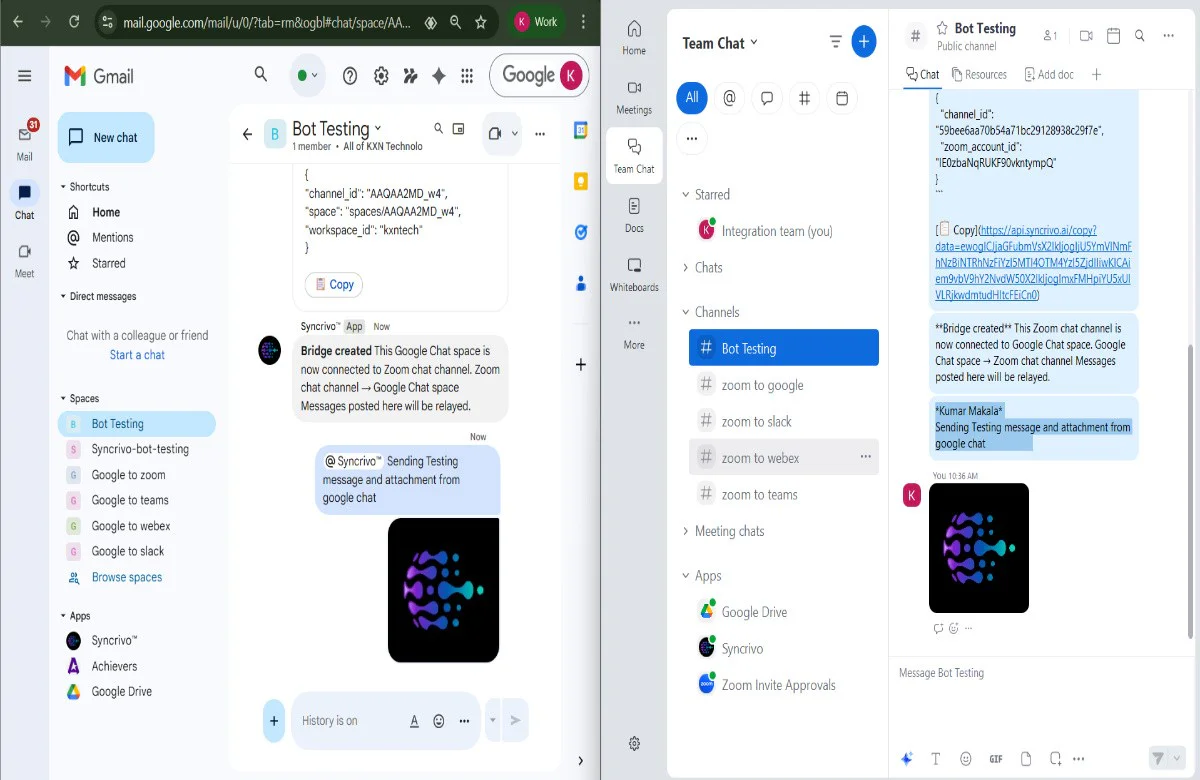
Google Chat
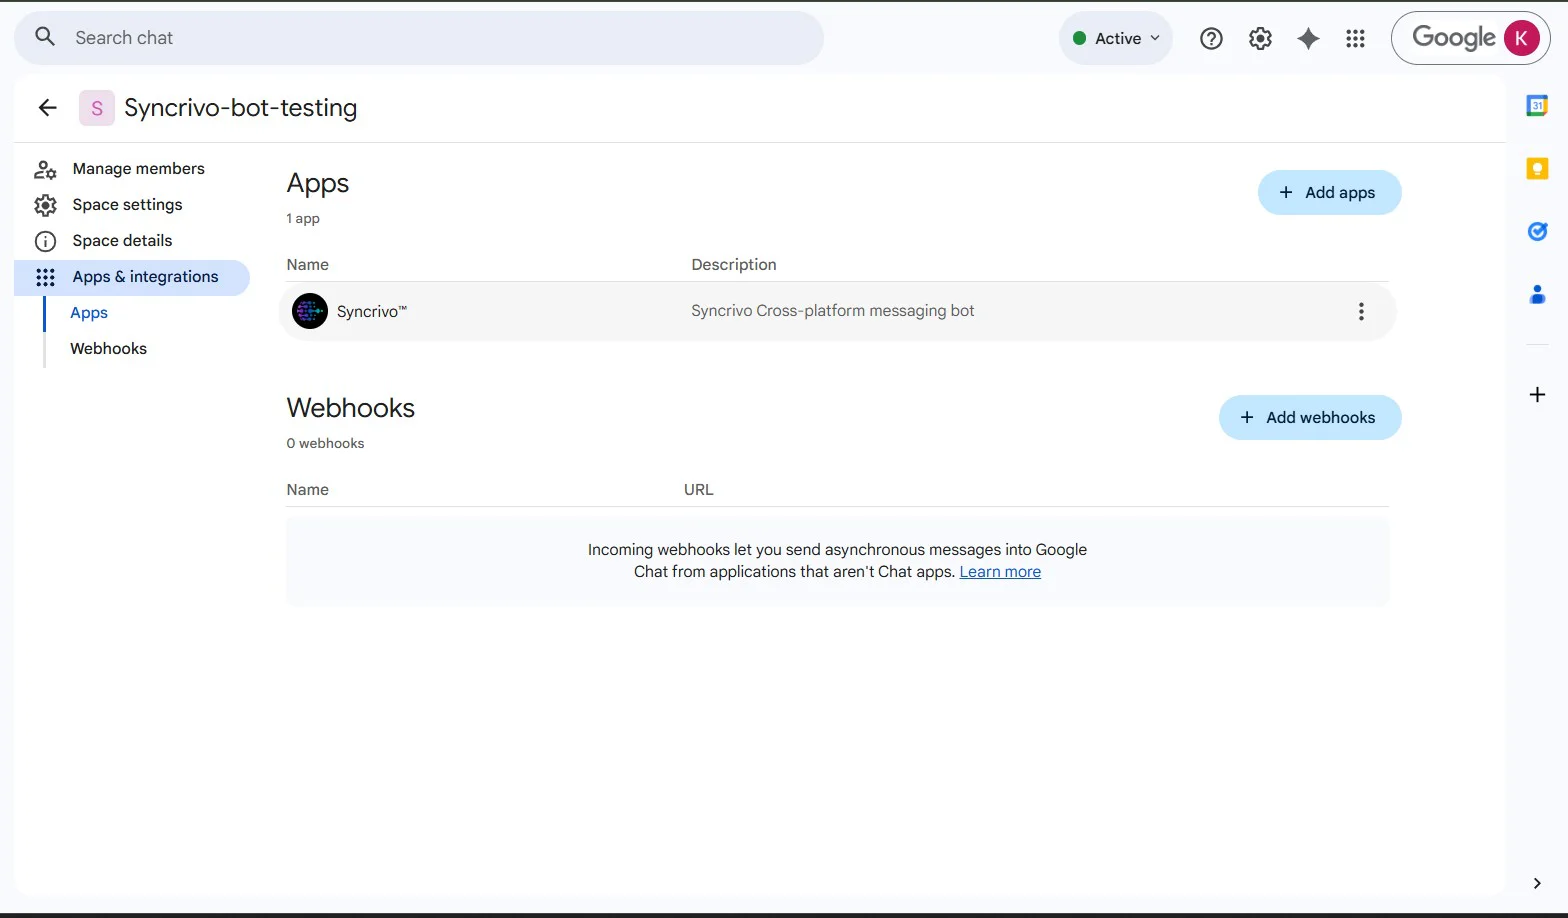
- 1Open Google Chat.
- 2In the left sidebar, click Apps and Integrations.
- 3Search for "SyncRivo" and add it to the required channel.
- 4In that channel, type "configure" to get the configuration values.
- 5Copy the values and paste them in the SyncRivo Connection Configuration.
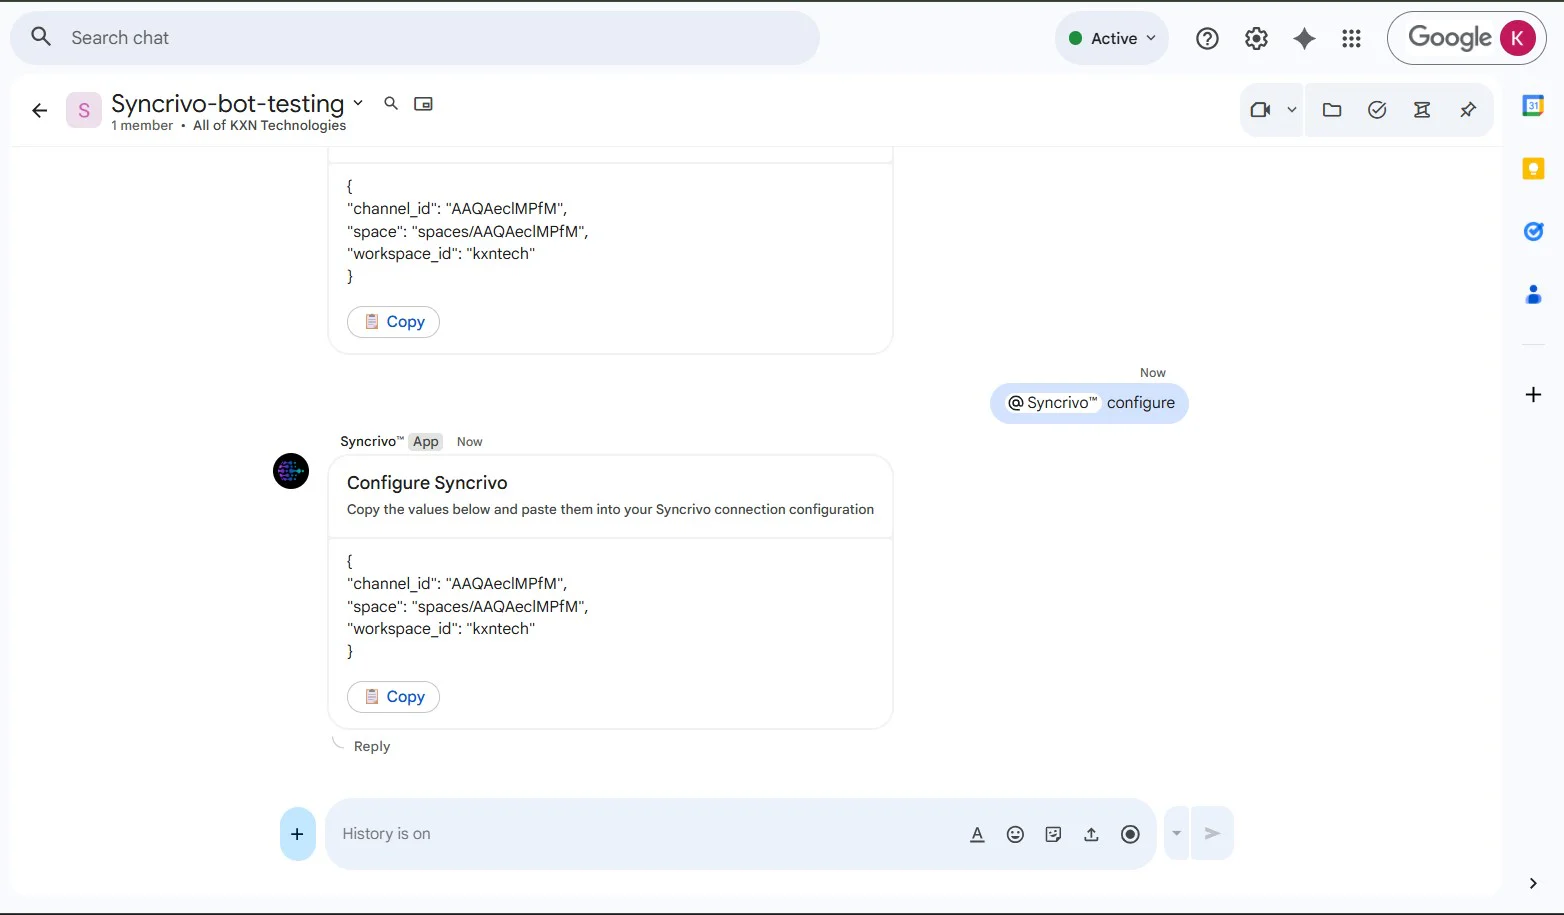
{
  "channel_id": "AAQAeclMPfM",
  "space": "spaces/AAQAeclMPfM",
  "workspace_id": "your-workspace"
}
Webex
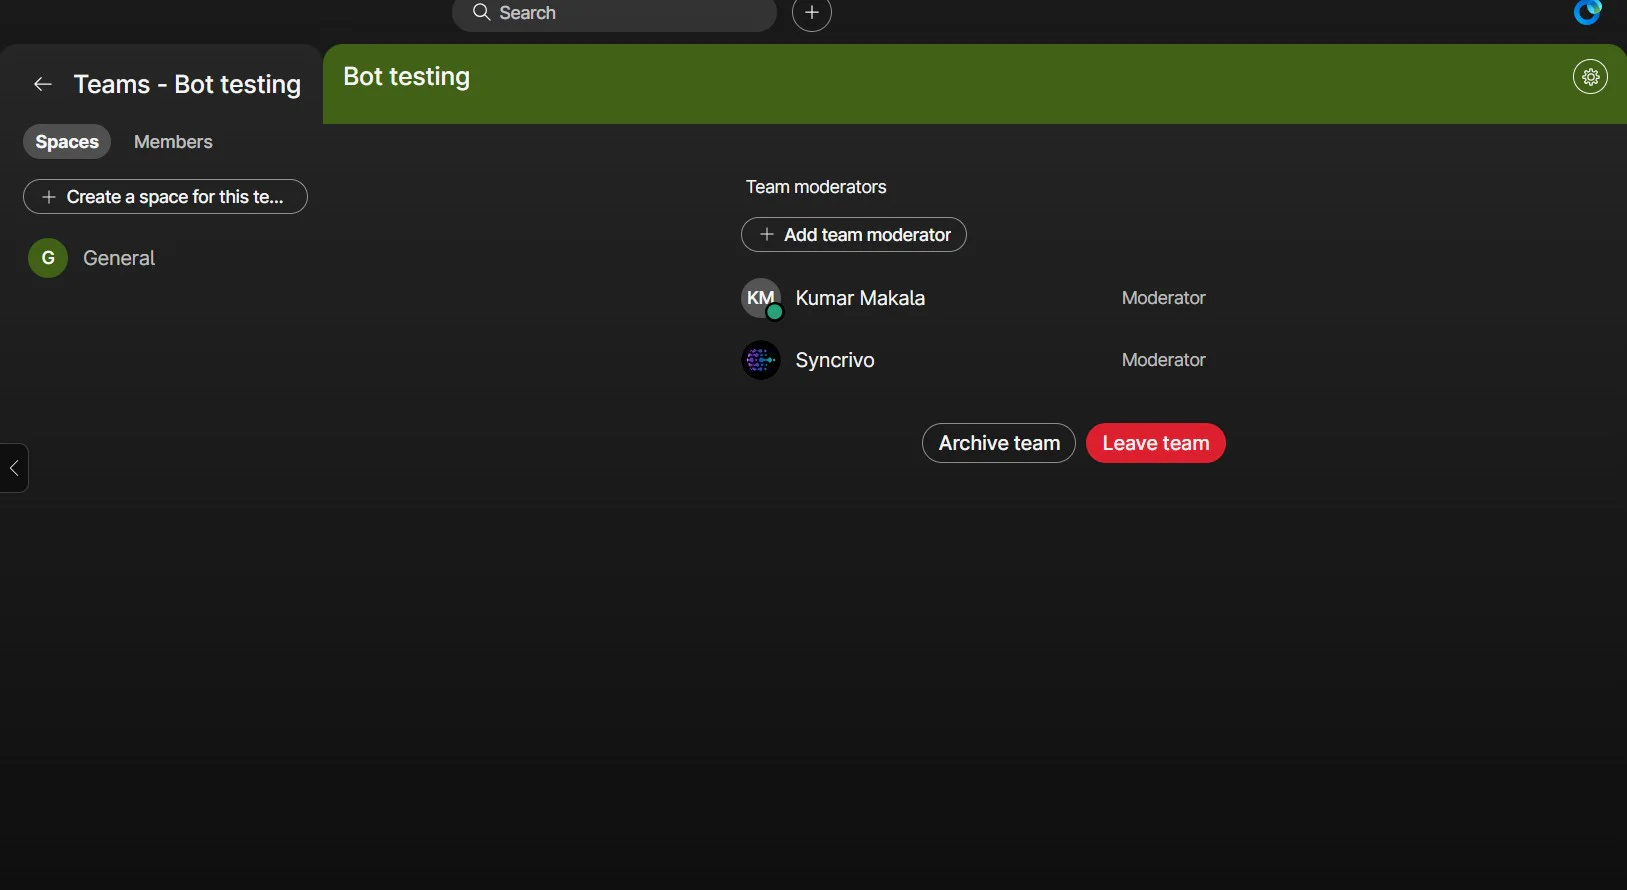
- 1Open the Webex Marketplace.
- 2Search for "SyncRivo" and install it to the required space/channel.
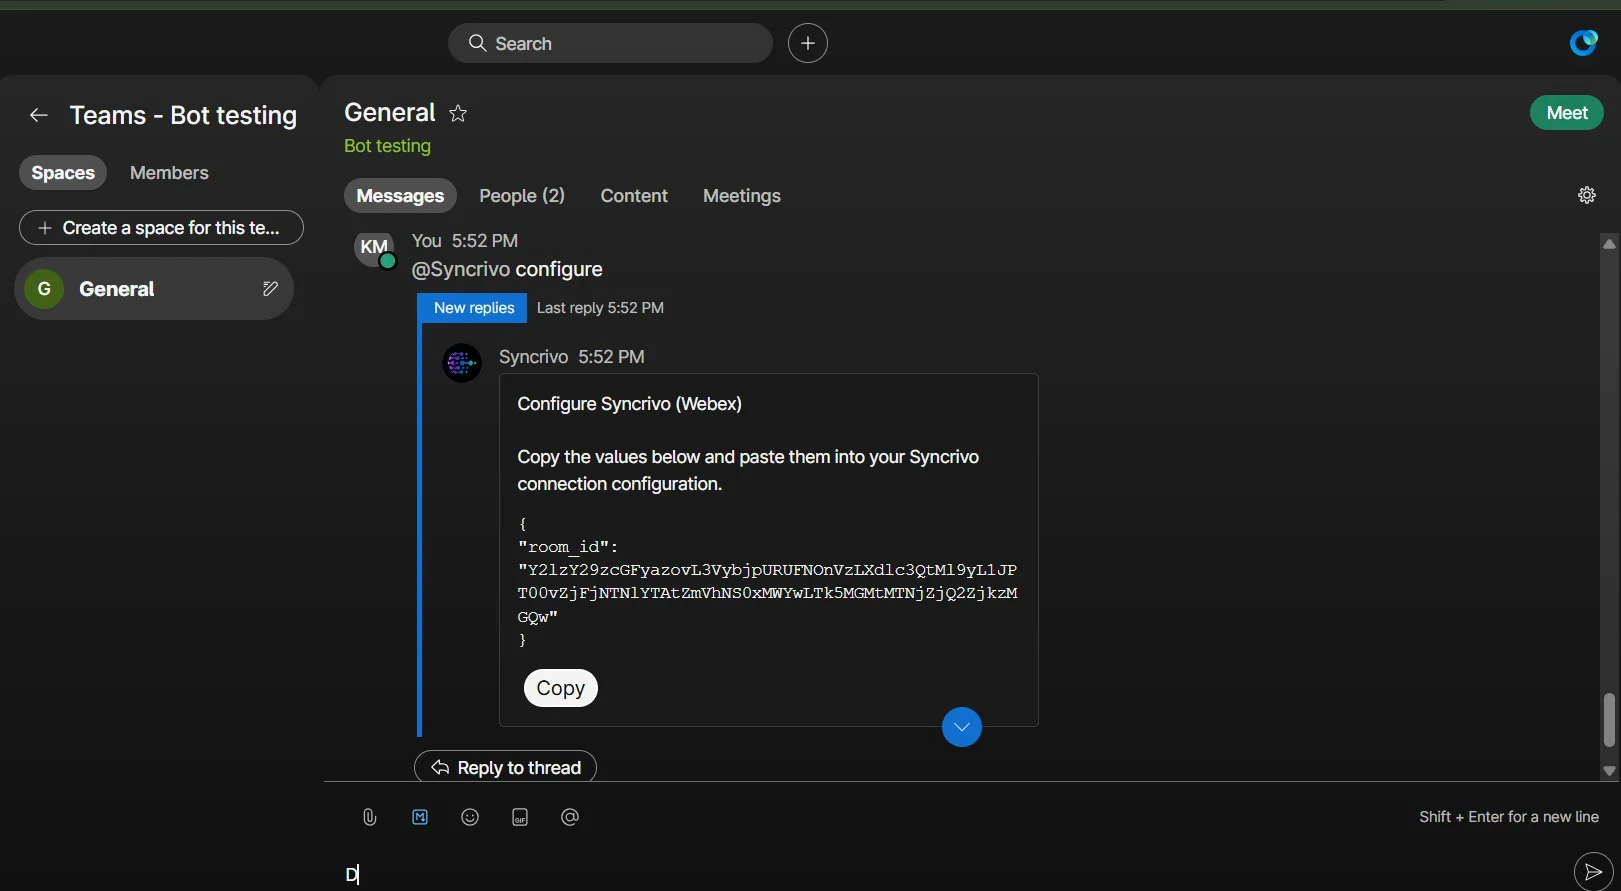
- 3After installation, you will receive a welcome message.
- 4Type "configure" — the bot will display the required configuration values.
- 5Copy the values and paste them in the SyncRivo Connection Configuration.
Slack
- 1Open your Slack workspace.
- 2Install/add the SyncRivo app to the required channel.
- 3In that Slack channel, type "configure".
- 4Copy the configuration values shown by the bot and paste in the SyncRivo Connection Configuration.
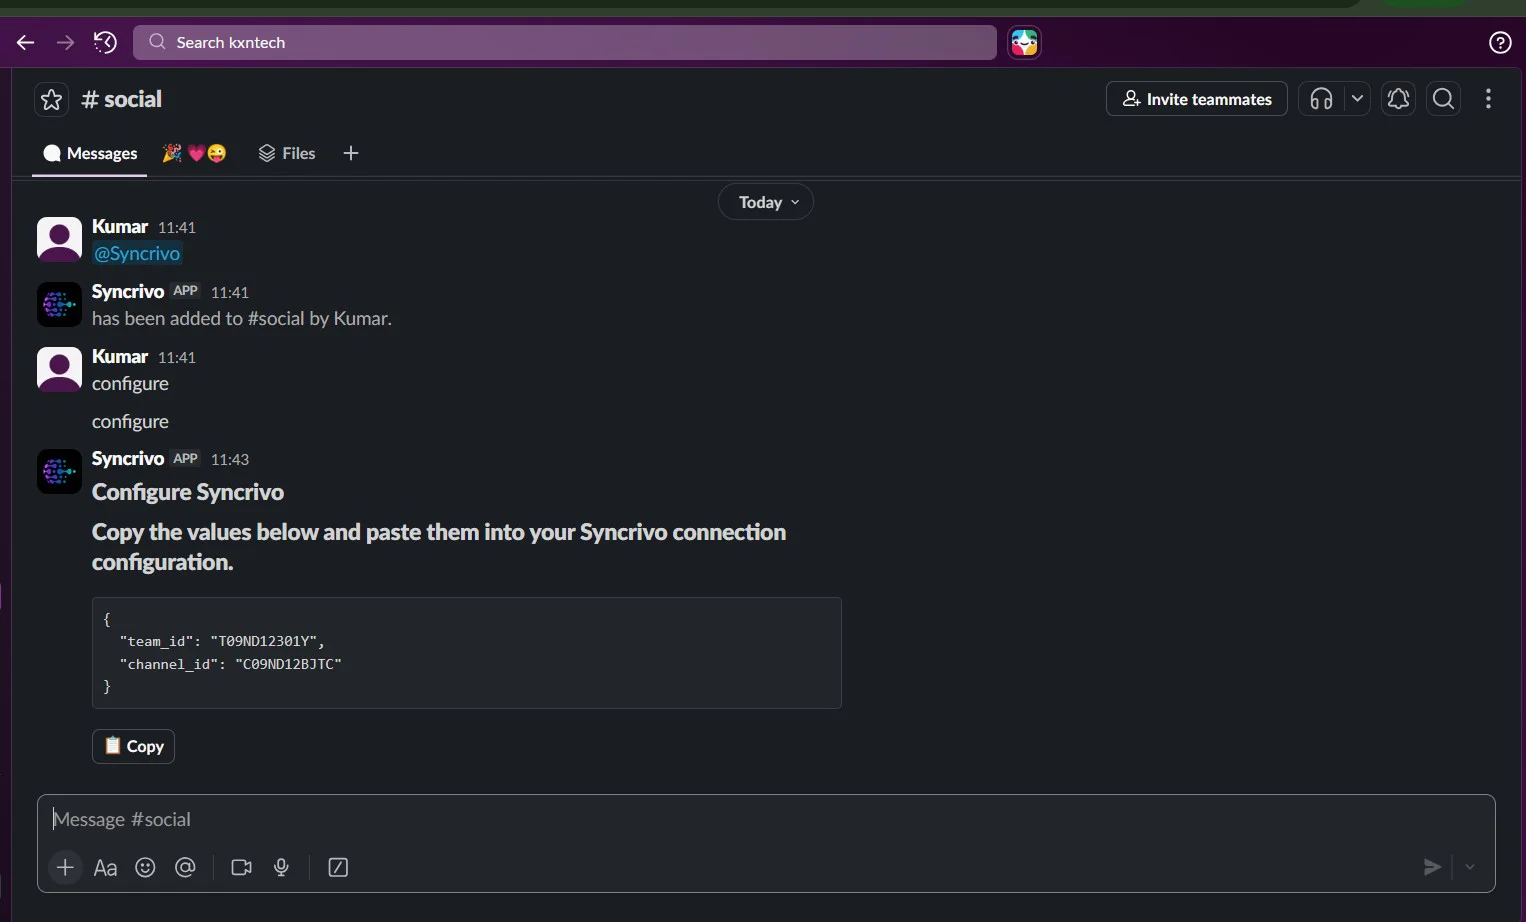
{
  "team_id": "T09ND12301Y",
  "channel_id": "C09ND12BJTC"
}5Removing the App
User-Level Removal
- 1Sign in to the Zoom App Marketplace.
- 2Click Manage (top-right).
- 3Go to Added Apps.
- 4Find SyncRivo and click Remove.
- 5Confirm removal.
Admin / Account-Level Removal
If your Zoom admin installed SyncRivo for the account, an admin can remove or disable it from Admin App Management.
- SyncRivo will lose authorization to access Zoom on your behalf.
- Message relay for any Zoom-connected channels will stop immediately.
- Existing connections that rely on Zoom will become inactive until re-authorized.
How Your Data Is Handled
- SyncRivo stops processing new Zoom messages for your workspace/channel.
- SyncRivo removes/invalidates stored Zoom authorization tokens.
- Connection records referencing Zoom may remain (marked inactive) so you can reconnect later.
To request deletion of any remaining SyncRivo-side data, contact support.
Troubleshooting
I can't add/install SyncRivo
Your Zoom account may require admin approval for marketplace apps. Ask your Zoom admin to approve/add SyncRivo.
The bot doesn't respond in Team Chat
Confirm SyncRivo is added to the correct Zoom Team Chat channel. Try "help" then "configure". Confirm the app is still authorized under Marketplace → Manage → Added Apps.
Messages aren't relaying
Confirm the SyncRivo connection is created in the portal and shows Active. Ensure you copied the correct Zoom IDs and Destination IDs into the connection form. Recreate the connection if IDs were pasted incorrectly.
FAQ
Q: What permissions does SyncRivo request?
A: Permissions are displayed by Zoom during installation. SyncRivo requires only what's needed to connect and relay messages per your configured connections.
Q: Does removing the app delete my SyncRivo account?
A: No. Removing SyncRivo from Zoom only revokes Zoom authorization. Your SyncRivo account remains until you delete it or request deletion.
Need help?
Our support team is ready to assist.